Managing Parent-Child Relationships in Inventory Management
Parent-child relationships in inventory management are essential for maintaining an accurate overview of stock. These relationships link items (like cartons and packs) to ensure proper tracking and depletion of inventory. Without such relationships, each item functions independently, potentially leading to inaccuracies and inefficiencies in inventory tracking.
What is a Parent-Child Relationship?
A parent-child relationship connects two related inventory items:
Parent Item: The larger container or bundle (e.g., a carton or case).
Child Item: The individual unit within the parent (e.g., a pack or can).
For example, in a beverage store:
A case of soda (parent item) might contain 24 cans (child items).
If 1 case of 24 cans is sold, the inventory system depletes the stock of individual cans based on the defined parent child relationship.
How to Create Parent-Child Relationships
1. Log in to Your Account
Use your login credentials to access your account.
2. Navigate to the Price Book Section
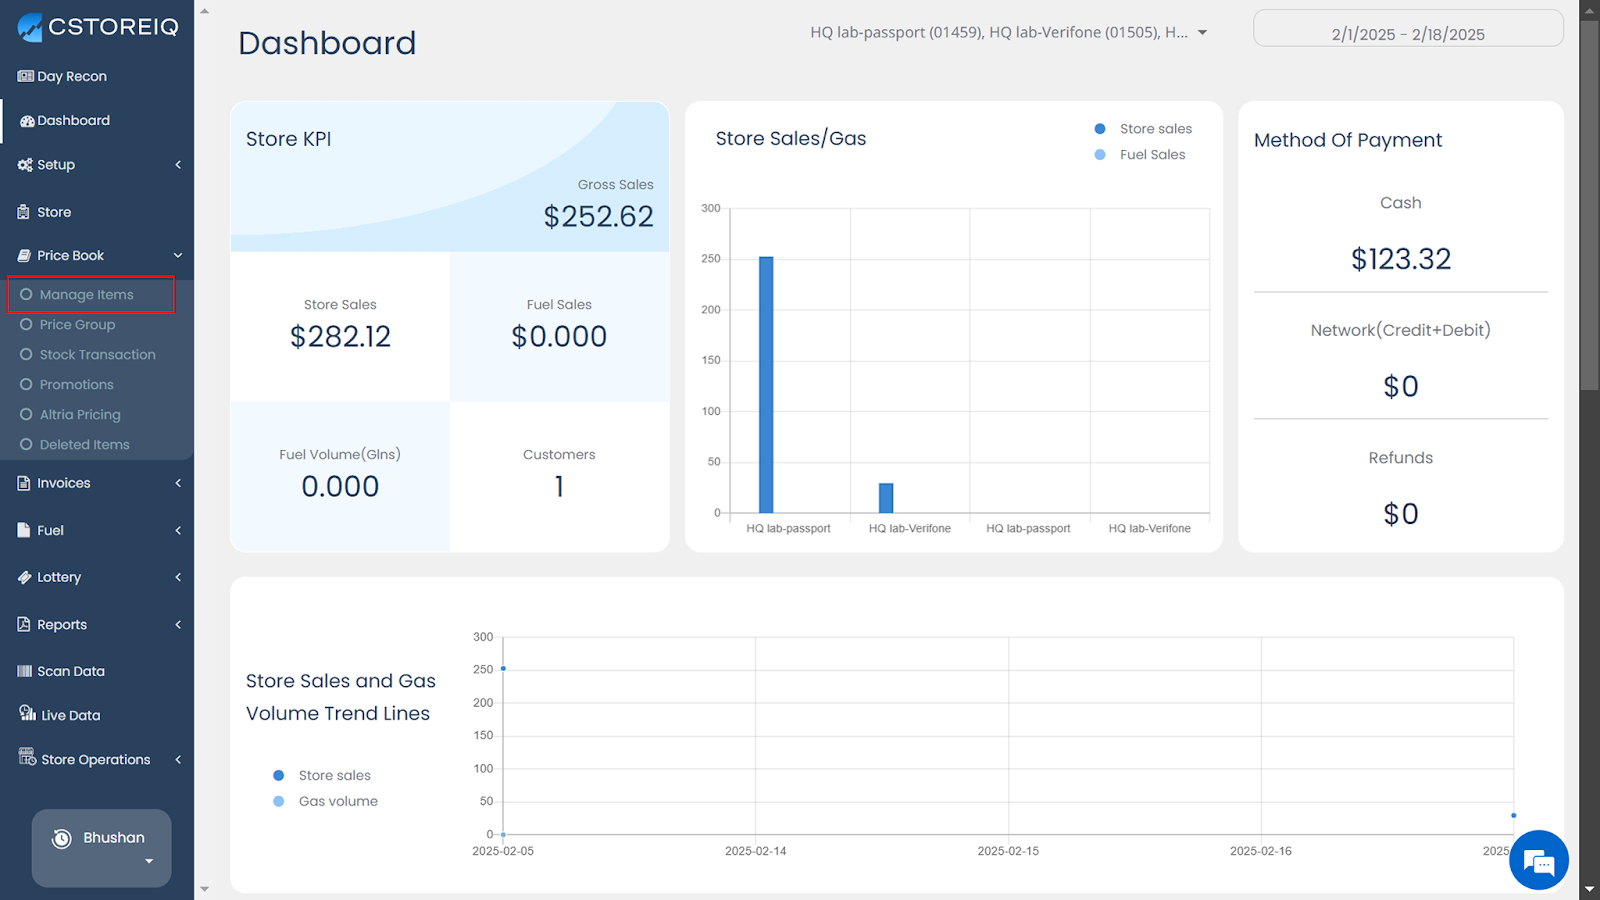
After logging in, go to the left menu bar and click on "Price Book."
From the dropdown menu, select "Manage Items."
3. Search for the Parent or Child Item
Use the Advanced Search feature to locate the item you want to link.

You can filter items by department, category, or any other available option.

4. Assign a Parent Item:
Select the child item (e.g., a pack of 10 units).
Identify its parent item (e.g., a carton containing 10 packs).

5. Create or Link Parent-Child Items
Once you find the child item, click "Edit" under the Actions column.

Use the UPC (Universal Product Code) of the parent item to link it to the child item.

In the Parent-Child Setup section, specify the relationship:
Parent Item: The main product (e.g., a pack of 6 cans).
Child Items: Variants or smaller units of the parent (e.g., individual cans).

Link the child items to the parent by selecting them from the dropdown or adding them manually.
In the child item view, select ‘Calculate at Carton/Case Level’ from the Type dropdown. Then, enter the carton’s UPC code and hit TAB—the description will load automatically. Next, enter the quantity of items in the carton. For example, for a cigarette carton, enter 10 because there are 10 packs/items in that carton.
6. Update and Save Changes
Review the relationships and make sure everything is linked correctly.

Click "Save" to confirm the changes.

7. Review the Parent-Child Setup
Go back to the Manage Items page to see the updated parent-child structure.
For detailed changes, click "View Details" under the Actions column.
Example: Setting Up a Relationship
Scenario:
A beverage store tracks soda at both carton and can levels.
Each carton contains 24 cans.
Steps:
Open the Pricebook and locate the can item.
Assign a parent item (carton) to the can.
Enter the carton’s UPC and define the quantity (e.g., 1 carton = 24 cans).
Save the relationship.
Outcome:
When one carton is sold, the inventory system reduces Can stock by 24.
Best Practices for Implementation
Define Clear Relationships:
Always verify parent-child mappings to prevent errors in inventory tracking.
Document Relationships:
Maintain a record of all parent-child configurations for easy reference.
Train Users:
Ensure store staff understand how relationships impact inventory depletion and reporting.
Related Articles
How to Add Stock Transactions for Inventory Management?
The "Stock Transaction" feature enables meticulous management and monitoring of inventory changes, catering to a variety of stock movements such as physical counts, adjustments, transfers, spoilage, and internal usage. Process for Adding Stock ...How to Add Stock Transactions for Inventory Management
The Stock Transaction feature helps you efficiently manage and track inventory changes, including physical counts, adjustments, transfers, spoilage, and internal usage. Steps to Add Stock Transactions: 1. Access the Manage Items Page Log in to your ...Fuel Module: Dashboard, Inventory (SIR), and Pricing Management
Purpose: Understand your store's fuel operations, track inventory, and manage retail fuel prices centrally from CStoreIQ. Audience: Store Owners, Managers Prerequisites: Your store must be configured to poll fuel data from the POS. Navigation: ...How to View and Manage Current Inventory
Managing and understanding your current inventory is essential for tracking stock levels and making informed decisions. Here's a simple guide to help you view and manage inventory effectively: Step 1: Log into the System Log in to your account using ...Understanding and Managing Group Pricing Updates
The 'By Group Price' feature is an efficient tool for managing product pricing in bulk. It enables users to update prices for a group of products categorized under specific price groups. This powerful functionality streamlines pricing management, ...